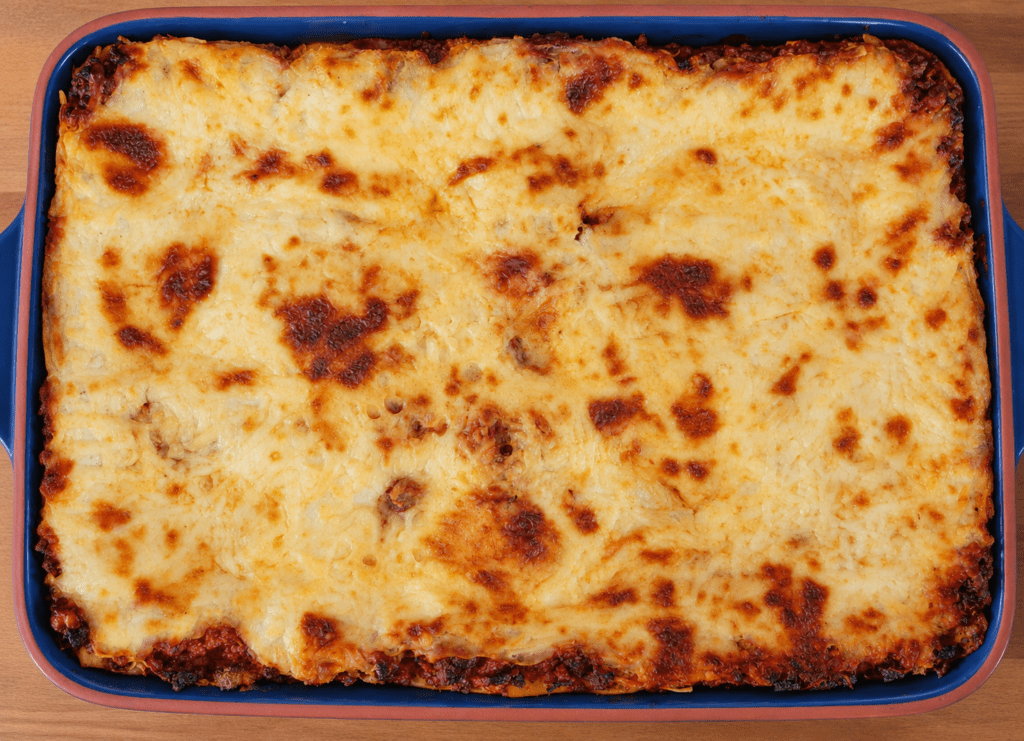
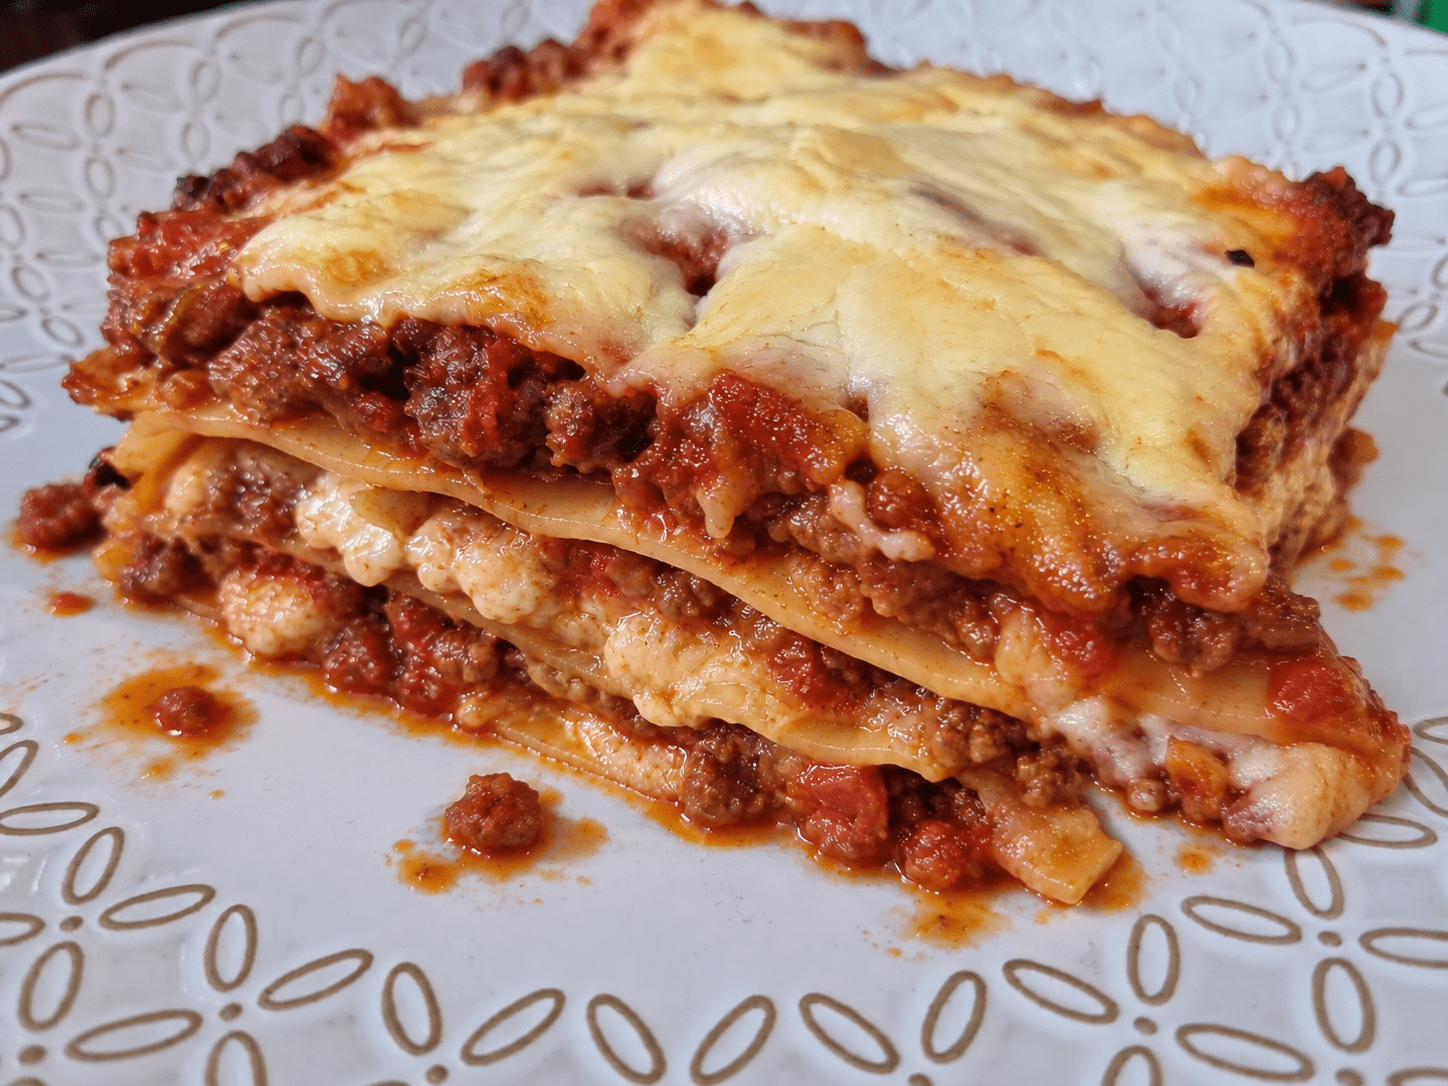
Let’s talk Lasagna
This gloriously rich, wonderfully warming, ultimate comfort dish is actually something I only started making a few years ago. In my early days, renting my first little place, I practically lived on Italian food – pasta, tomatoes and Bolognese sauce were my bread and butter, so to speak. But lasagna? That always seemed a little too complicated to tackle.
A few years ago, I stumbled across an old recipe that looked absolutely scrumptious and perfectly suited for a rainy day, which it was, and so I decided to give it a go: my first homemade lasagna.
True to form, I had taken a rather freehand approach to the original recipe, tweaking and adjusting as I went along. By the time it reached the table, I’m not sure it could honestly claim much resemblance to the original recipe that inspired it, but it was delicious enough in its own right to earn a place as a staple in our home.
And as it happened, my niece came to visit that same week, and absolutely loved it! so, what began as an unplanned dinner quickly turned into one of those lovely meals made for sharing.
These days, I make lasagna whenever the weather turns cloudy and grey, when I’m craving something properly indulgent and comforting, and whenever my niece comes to visit. Off course.
Lasagna: The making
Making lasagna does take a little planning. It isn’t usually the sort of dish you throw together from whatever happens to be in your fridge. No, no, this one starts with a shopping list and a cleared slot in my schedule. Not because lasagna is particularly difficult, but because there are several steps to work through before that bubbling, golden dish finally reaches the table.
That’s also why I don’t make it as an everyday meal. Lasagna in my home is an occasion – it serves a purpose that justify the indulgent. And after the past couple of rainy weeks, I found myself craving exactly that.
And if I’m making one, I might as well document it, right?
Post about Lasagna
Ingredients bought and camera at the ready, I started working my way through the different steps, taking plenty of pictures, as fit for a blog. But, somewhere along the way, I realised that a conventional recipe didn’t feel quite right for this one.
While lasagna certainly has a formula, mine is very much a freehand affair.
I believe lasagna should be made according to what you enjoy. There is plenty of room to play with flavours, textures and proportions, from the sort of spices and meats to the cheeses you use and how to put each part together, experimenting with the white sauce or simply being a little more generous with your favourite layer – everything is adjustable. Almost.
So, rather than giving you only the usual list of ingredients followed by a set of instructions, I wanted to make this post a guide to Building your own lasagna. We’ll work through each step in detail and explore how small changes can make the finished dish better suited to own taste.
Think of it less as a rigid recipe and more as a roadmap to your perfect lasagna.
After all, while the foundations remain much the same, i.e. vegetables, Bolognese, pasta and white sauce, each one leaves plenty of room for personal interpretation. A great lasagna can be wonderfully simple or deliciously elaborate; what matters is understanding how those layers come together.
This post will break it down into four essential stages: the vegetables, the Bolognese, the white sauce and the assembly. Alongside plenty of possible variations and choices at each step, to help you tailor the recipe and create a lasagna that’s just right for you.
The Full Recipe
For those who rather follow a recipe from start to finish, you’ll find the complete, detailed recipe at the end.
Lets make Lasagna
Step 1: The Veggie Trinity
The sacred base of so many rich, earthy dishes is the classic veggie trinity: onion, carrot and celery. Lasagna is no exception.
I used two medium carrots, two celery stalks and one large pink onion.
Pink onions are a relatively new discovery for me, and I’ve become slightly obsessed with them. They have a lovely mild sweetness and a softer flavour than regular onions, which works beautifully in a slow, rich dish like this.
Chop, chop, chop
I like my vegetables very finely chopped. You can leave yours a little chunkier if you prefer – this is entirely down to personal taste – but I recommend keeping the pieces fairly small so they melt naturally into the Bolognese rather than competing with it.
This is where my manual chopper comes in.
When my mum first suggested I buy one, I genuinely wondered what I would possibly do with it. I already had several electric choppers in the kitchen, why on earth would I need a manual one? Well, I stand corrected.
It has somehow become one of the most-used tools in my kitchen. It’s quick, uncomplicated and brilliant for jobs like this, when I want a very fine, even chop without getting another electrical appliance involved. A few pulls and the vegetables are ready for the pan.
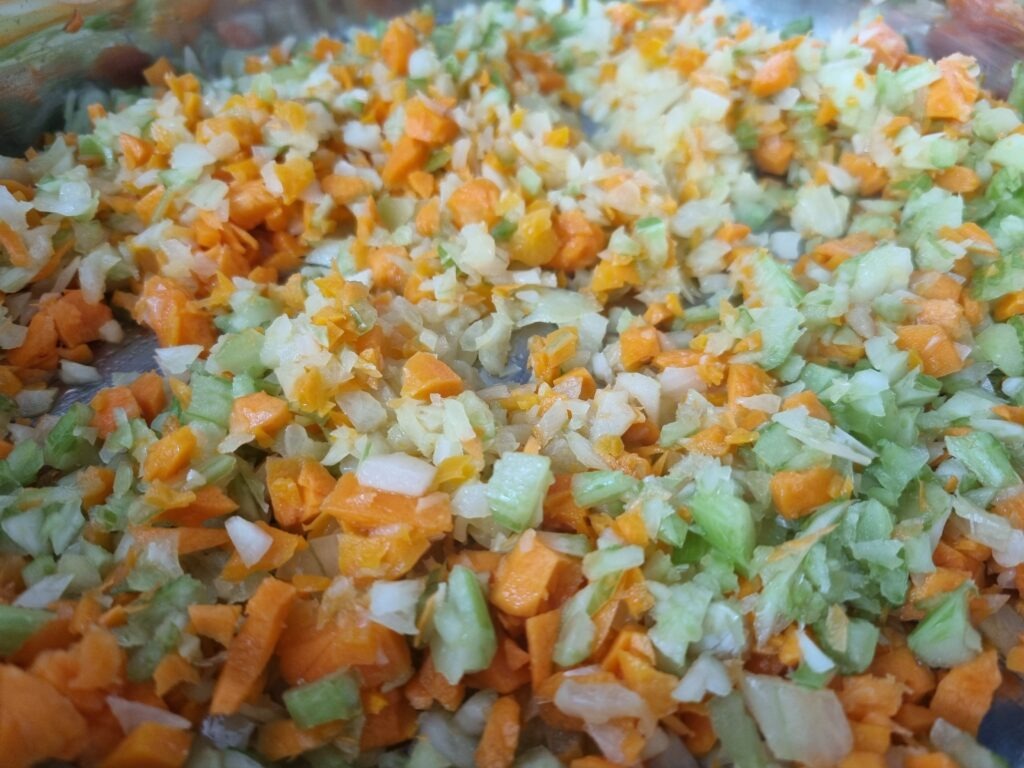
Into the fire
Warm couple of tablespoons of olive oil in a large pan over high heat. Make sure you choose a pan with plenty of room: we’ll eventually be building the entire Bolognese in here, so it needs to accommodate everything else still to come.
Add the chopped vegetables along with two large garlic cloves, finely chopped, and fry over high heat until the vegetables just begin to colour.
Now add two tablespoons of cold water.
The water helps loosen all those flavourful browned bits clinging to the bottom of the pan while creating a burst of steam. At this point, the vegetables move from frying to gently steaming, allowing them to soften without taking on too much colour.
Lower the heat and continue cooking for another 3–4 minutes, stirring occasionally, until the vegetables are softened and beginning to turn translucent.
Remove them from the pan and set aside – we’ll bring them back into the Bolognese shortly.
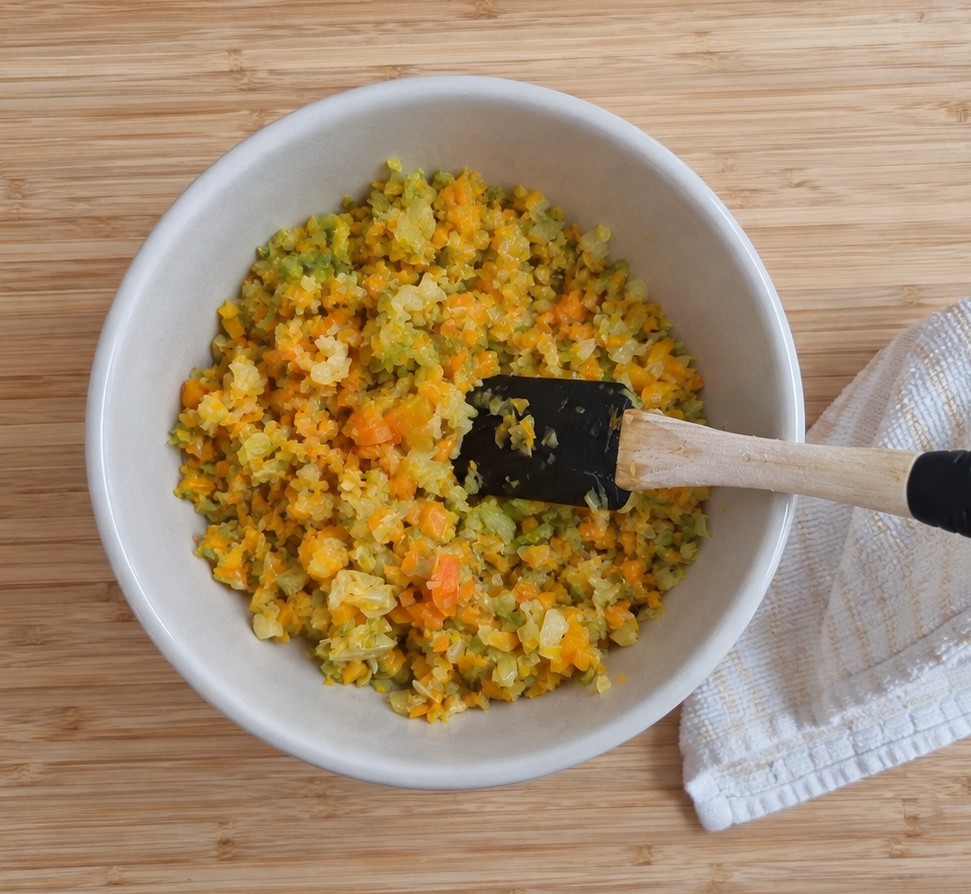
A note on seasoning
I’m a firm believer that seasoning need be done at every stage rather than waiting until the entire dish is assembled. It’s one of the simplest ways to build depth of flavour, and it gives you much more control over how each individual component tastes.
To the vegetables, I added salt and freshly ground black pepper, just after adding the water.
There’s a practical reason for adding the salt at this point, too. Salt draws moisture from the vegetables, helping them soften and encouraging that gentle steaming process we’re looking for.
Step 2: The Bolognese Sauce
Now for the heart of the lasagna: the Bolognese sauce.
At its simplest, Bolognese is a rich, tomato-based meat sauce, but this is also one of those stages where you can really make the lasagna your own.
For this lasagna, I used 400g of 5% fat minced beef and 400g of 15% fat minced lamb.
I’ve played around with quite a few combinations over the years – including using beef alone – but, in my opinion, this pairing gives the best result. The beef provides that deep, familiar savoury flavour, while the slightly fattier lamb brings richness and succulence. Together, they create a Bolognese that feels wonderfully indulgent without being too greasy.
That balance of fat is important. I prefer to keep the overall meat mixture reasonably lean because there are plenty of other rich elements still to come. Too much fat here can leave the finished lasagna oily and heavy, rather than giving you that lovely, juicy mouthfeel we’re after.
But beef and lamb certainly aren’t your only options. Beef and pork, beef and sausage meat, or even chicken and lamb are just some of the options that works beautifully together.
Get the pan hot
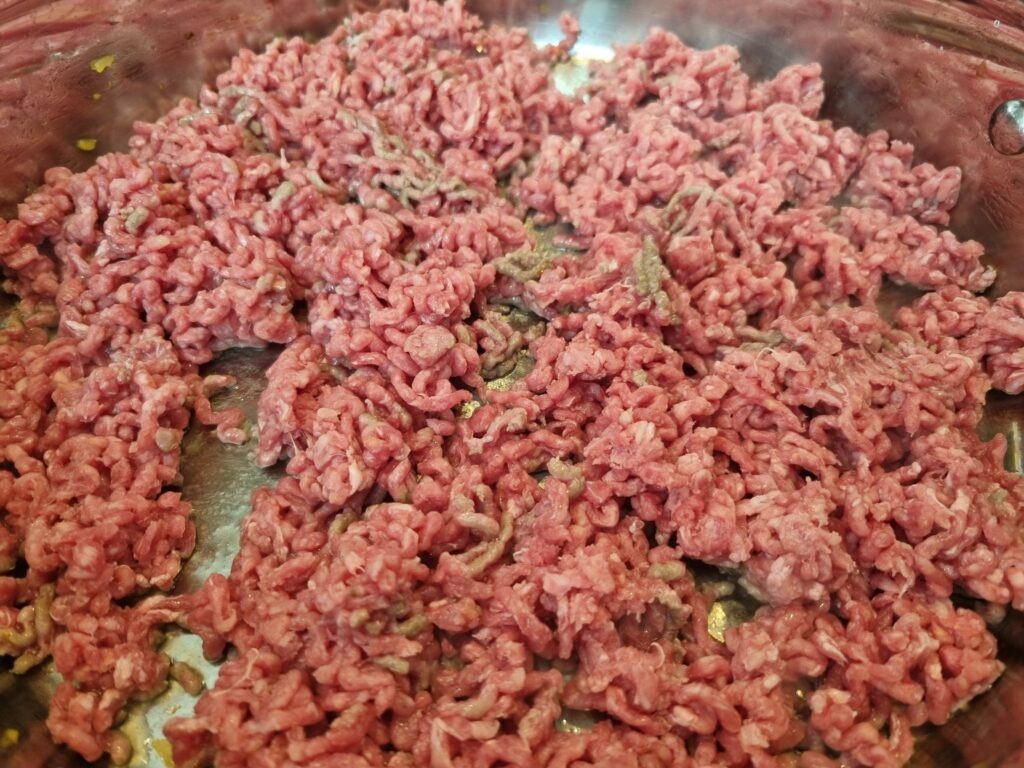
Heat a couple tablespoons of olive oil in the same large pan you used for the vegetables, then add the meat over high heat.
There is one important rule here: don’t overcrowd the pan.
If your pan is not large engouh, I highly recommend browning the meat in two or three batches. Adding all 800g at once can quickly bring down the temperature of the pan, causing the meat to release moisture and steam rather than properly brown.
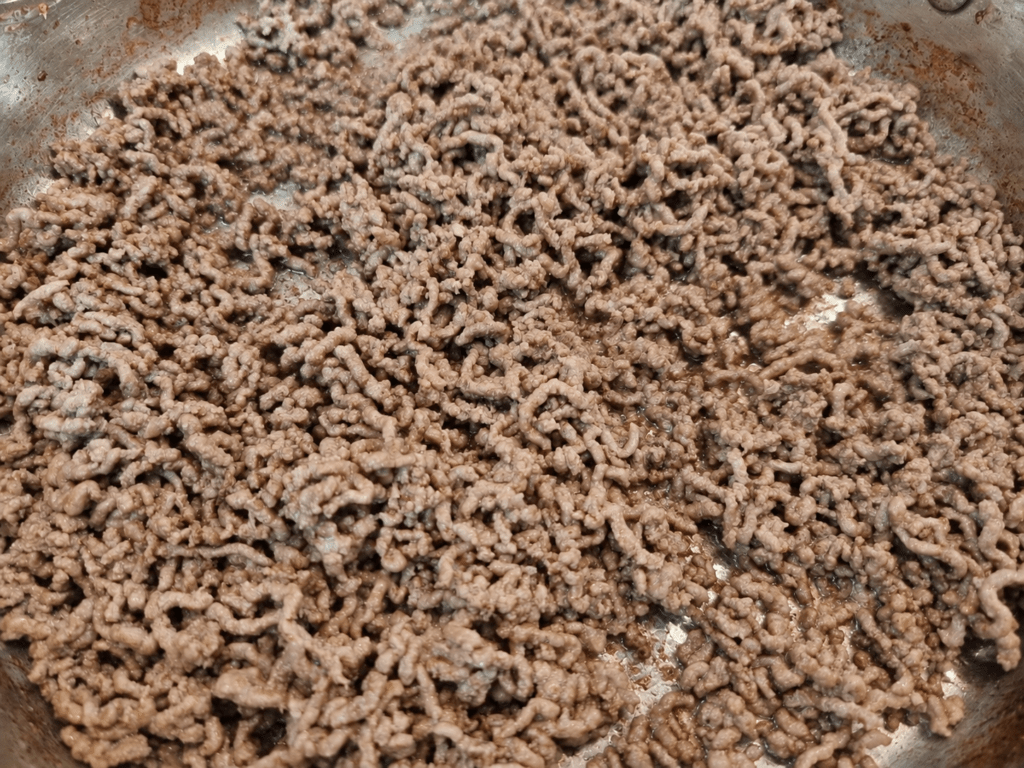
As the meat browns, use two wooden spoons to continuously break it apart. I like the mince very fine, without large clumps, so that it eventually becomes almost inseparable from the sauce rather than sitting in chunky pieces between the layers of pasta.
You’re looking for beautifully browned meat, but it doesn’t need to be completely cooked through at this stage. It still has plenty of time to cook in the sauce, and later, in the oven.
Season the meat
Season the meat right after adding it to the pan, to allow it to absorb the flavours while bein browned.
To my 800g of minced meats, I added: 1½ teaspoons salt, 1 teaspoon Ras-el-Hanout, ½ teaspoon ground cumin, and 1 tablespoon honey
Ras el Hanout might not be the first seasoning you associate with a traditional Bolognese, and that is precisely where my freehand approach to lasagna comes in.
It is a North African spice blend; most commonly associated with Moroccan cooking. The exact mixture varies, but it typically brings together a collection of beautifully aromatic, warming spices. Depending on the blend, it will mainly contain: cumin, coriander, cinnamon, ginger, paprika, allspice, nutmeg and black pepper.
Those warm, fragrant flavours work wonderfully well with both beef and lamb, while the additional cumin reinforces their earthy richness. The spoonful of honey adds a subtle sweetness that rounds everything out without making the sauce noticeably sweet.
As with the vegetables, though, seasoning is entirely open to interpretation.
If Ras el Hanout isn’t your thing, leave it out and take the flavours in another direction. Garlic powder, onion powder, sweet or hot paprika, coriander, cayenne and oregano all pair beautifully with meats and can be mixed and matched according to the character you want your Bolognese to have.
This is exactly why I like seasoning each component individually, you’re not simply adding salt and spices to a finished sauce; you’re building flavour into it from the beginning.
Bring back the veggie trinity
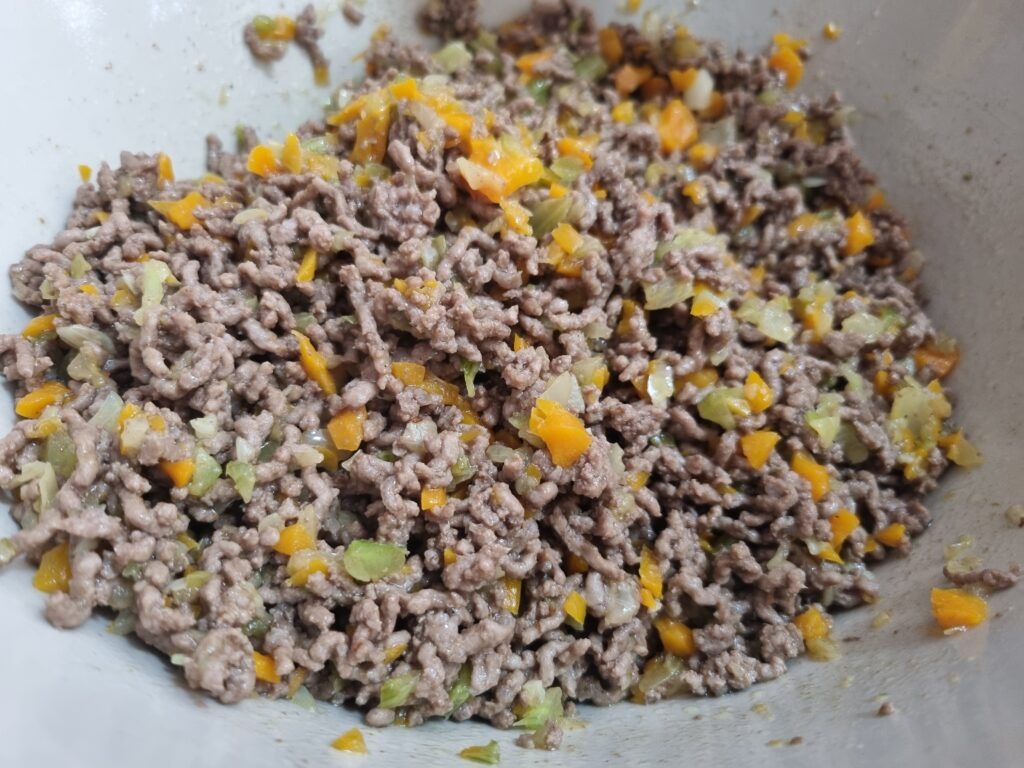
Once all the meat has browned, return our cooked onion, carrot, celery and garlic mixture to the pan.
Give everything a really good stir, making sure those softened vegetables are evenly distributed throughout the meats mixture.
This will be the foundations for the Bolognese: deeply browned meat, aromatic vegetables and layers of warm seasoning, all ready for the tomatoes.
Step 3 – The Tomato Sauce
While the meat is browning, it’s the perfect time to get our tomato sauce ready.
In a large bowl, mix together 1 tin of 400g finely chopped tomatoes, 1 can of 400g passata, 2 tablespoons tomato purée, 1 teaspoon fine salt, ½ teaspoon caster sugar and 1 tablespoon sweet paprika.
I used Philadelphia instead of the sweet paprika. Philadelphia is a spice blend of paprika, mustard seeds, black pepper, coriander, parsley and oregano. It works phenomenally well with tomatoes sauces, and has become something of a staple in my kitchen. I use it as the base seasoning for my Shakshuka, too.
If you don’t have it, sweet paprika works beautifully, or you can use hot paprika if you prefer a little heat. As always, let your own palate lead the way.
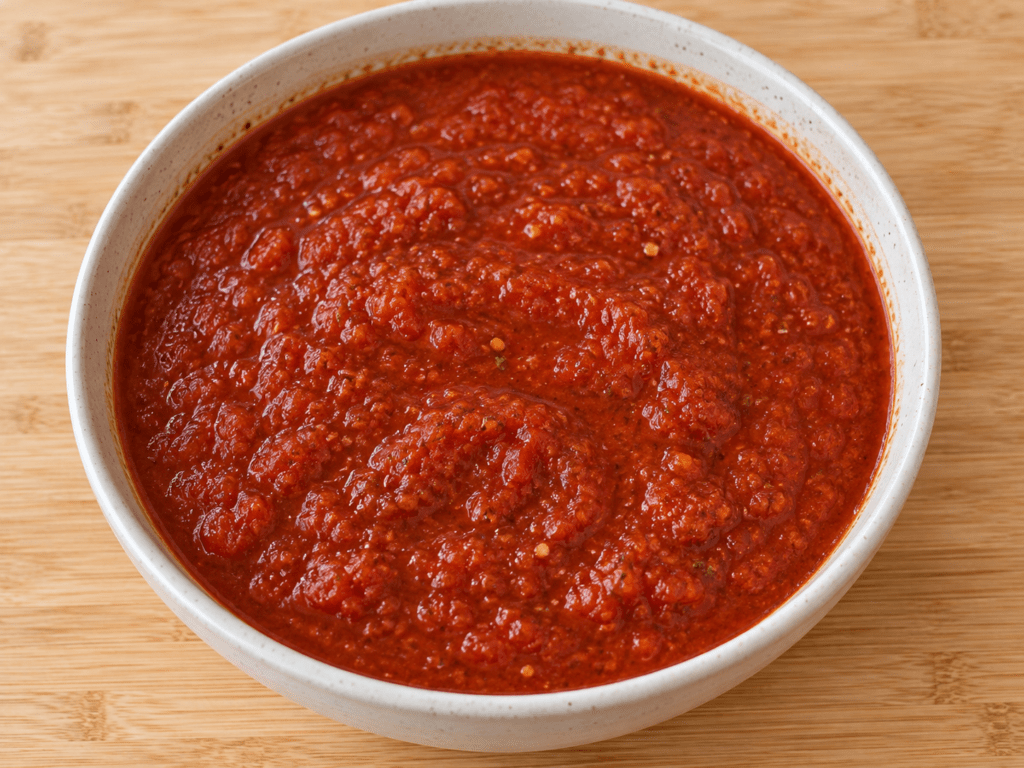
Make the tomato base your own
Just like the meat mixture, the tomato element is very much open to interpretation.
My usual combination is one tin of finally chopped tomatoes and an equal amount of passata. I like the balance this gives: the chopped tomatoes bring body and texture, while the passata creates a smooth, rich sauce.
But there’s no strict rule here.
You can use only chopped tomatoes for a more rustic, textured Bolognese, or go entirely with passata if you prefer your sauce smoother. More often than not, I use one of each and give the chopped tomatoes a quick blitz before combining them, which lands somewhere nicely in between. And if you happen to have red roasted pepper, throw one in there as well, it will blend into the sauce given it a great smoky kick.
The seasoning is equally flexible.
Salt and pepper provide the foundation, while garlic, oregano, basil, paprika and a touch of hot sauce all work particularly well with tomato-based sauces.
Whichever way you go, make sure to add a small amount of sugar to balance that acidity sharpness that comes with tinned tomatoes. You’re not looking to make the sauce sweet, just to bring everything into balance.
Taste your tomatoes and adjust accordingly, before adding to the meats.
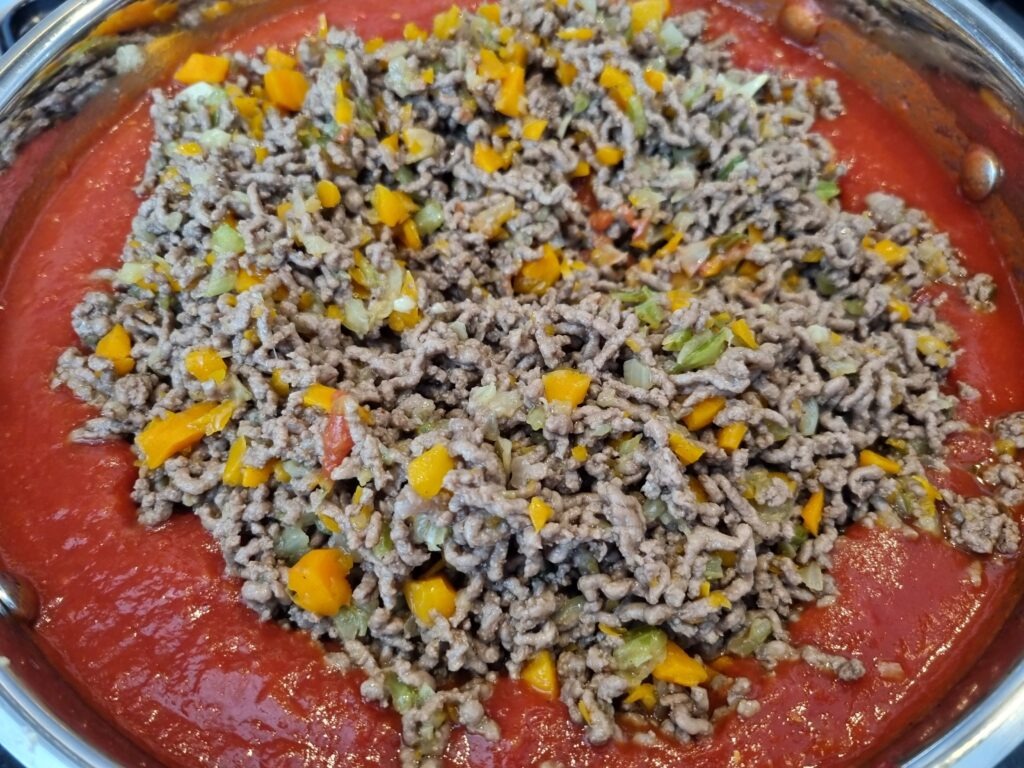
Bring it all together
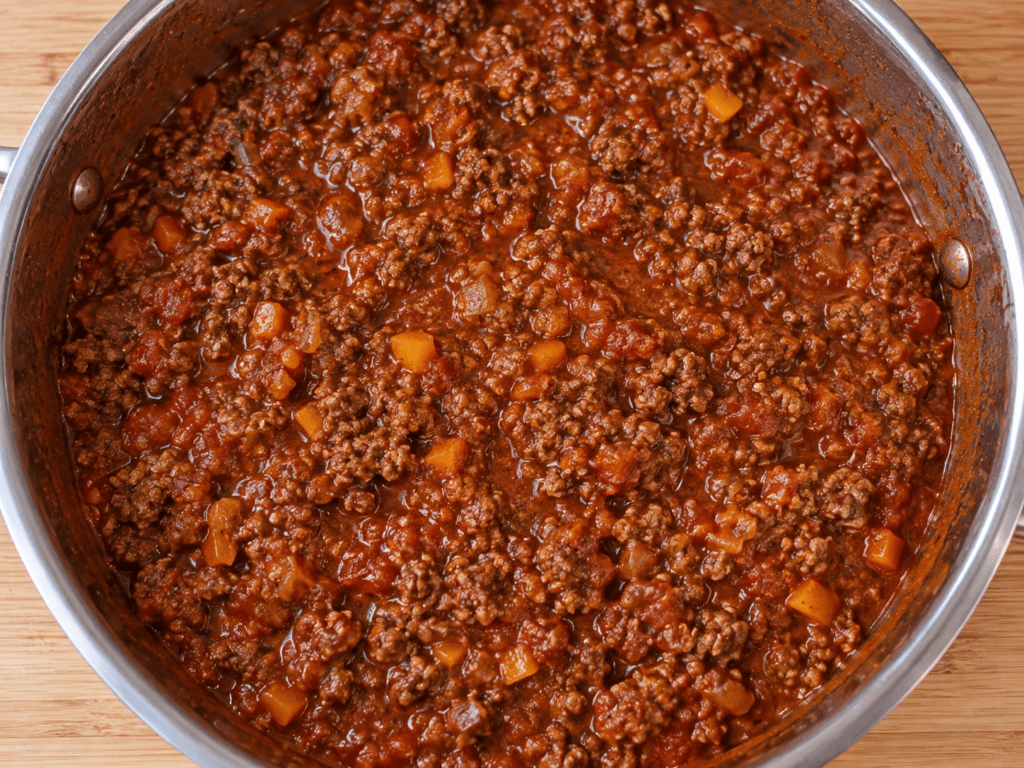
Once the meat has browned and the veggie trinity is back in the pan, pour in the prepared tomato mixture and stir everything together thoroughly.
Use ½ cup of water to add liquid to the sauce. You can use the water to rinse out the tomato tin and passata container, swirling it around to catch every last bit of tomato before pouring it into the pan. Besides making sure none of that tomato goodness goes to waste, the extra liquid adds much-needed moisture to the sauce, helping the pasta cook and soften properly as the lasagna bakes in the oven.
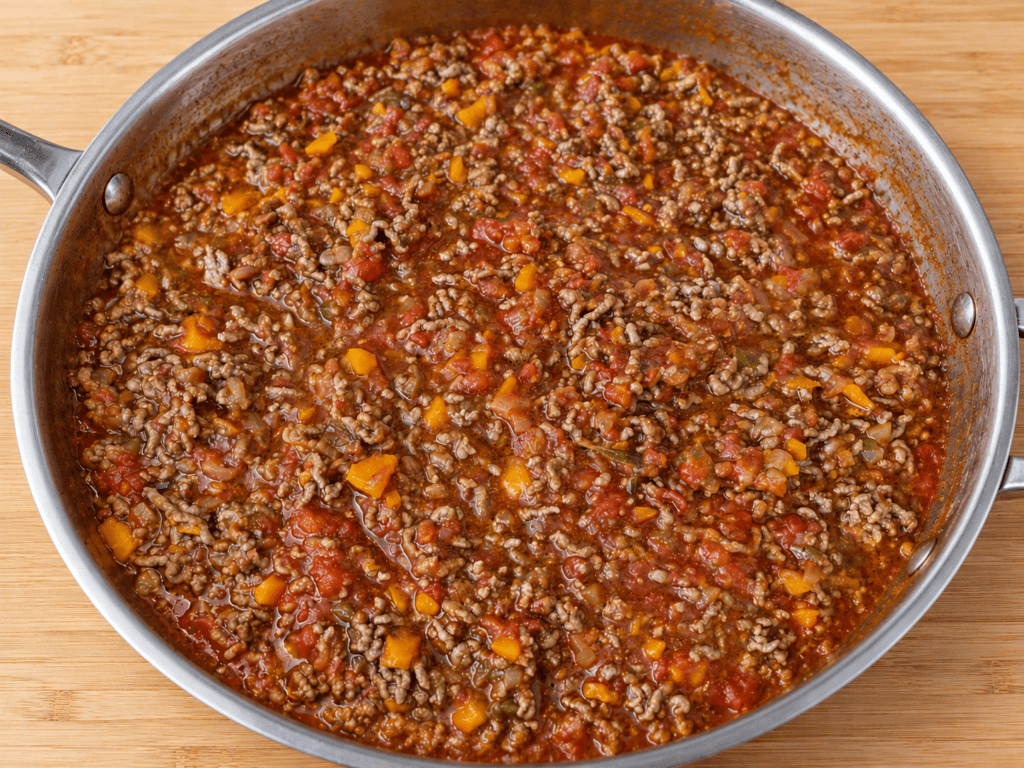
Lower the heat to medium-low and let the Bolognese gently simmer for around 5–8 minutes, stirring occasionally.
There’s no need for a long simmer here. Unlike a Bolognese destined to go straight over a bowl of pasta, this sauce still has another 30 minutes or so of cooking ahead of it in the oven, where the flavours to continue to deepen.
At this stage, we’re looking for a Bolognese that is rich and well combined, but still a little looser than you might ordinarily serve with pasta.
And that extra sauciness is intentional, it’s going to help us enormously when we start building the lasagna.
Step 4 – The White Sauce
The white sauce is what gives lasagna that wonderfully smooth, silky richness, and of all the components we’ve made so far, this might just be the most flexible.
Beyond the basic foundation of butter, flour and milk, there is plenty of room to make it your own.
Start with the roux
Use a heavy-bottomed saucepan, which will distribute the heat more evenly and give you better control over the sauce.
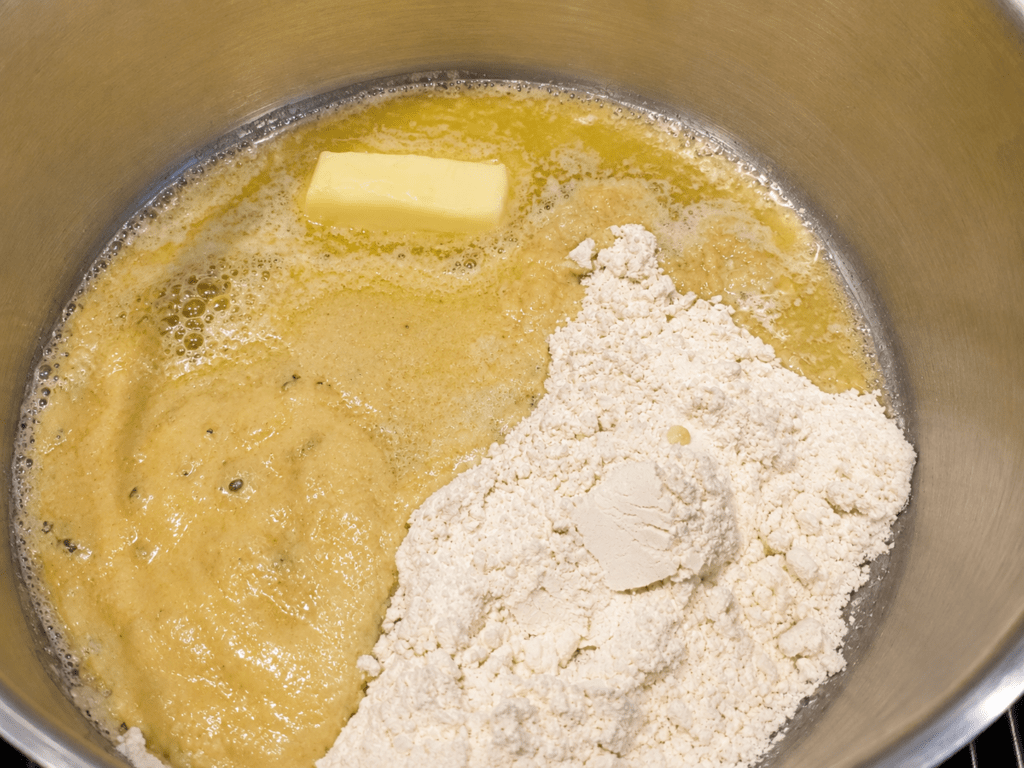
Over low heat, melt together equal amounts of butter and flour, stirring constantly with a wooden spoon. Once the butter has completely melted and the flour absorbed it, continue cooking gently for another 2–3 minutes.
This little bit of patience is important. Cooking the flour removes its raw taste and begins to develop a much more pleasant flavour. Once the mixture turns beige and you notice a gentle, nutty aroma, your roux is ready for the milk.
Swap your wooden spoon for a hand whisk.
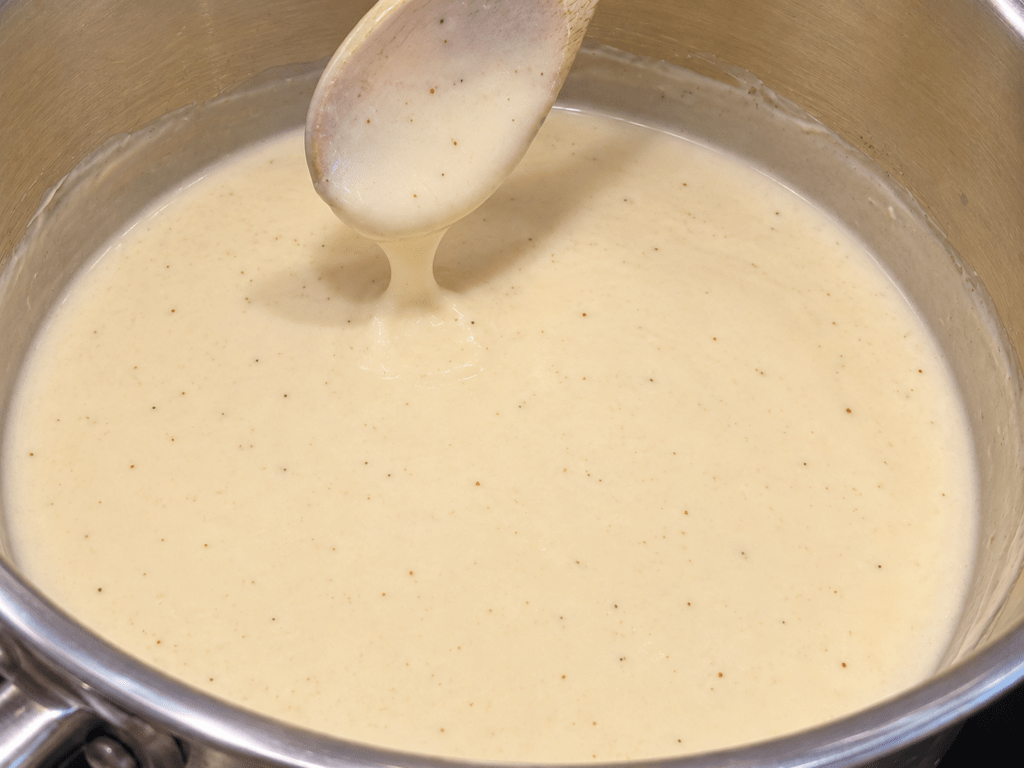
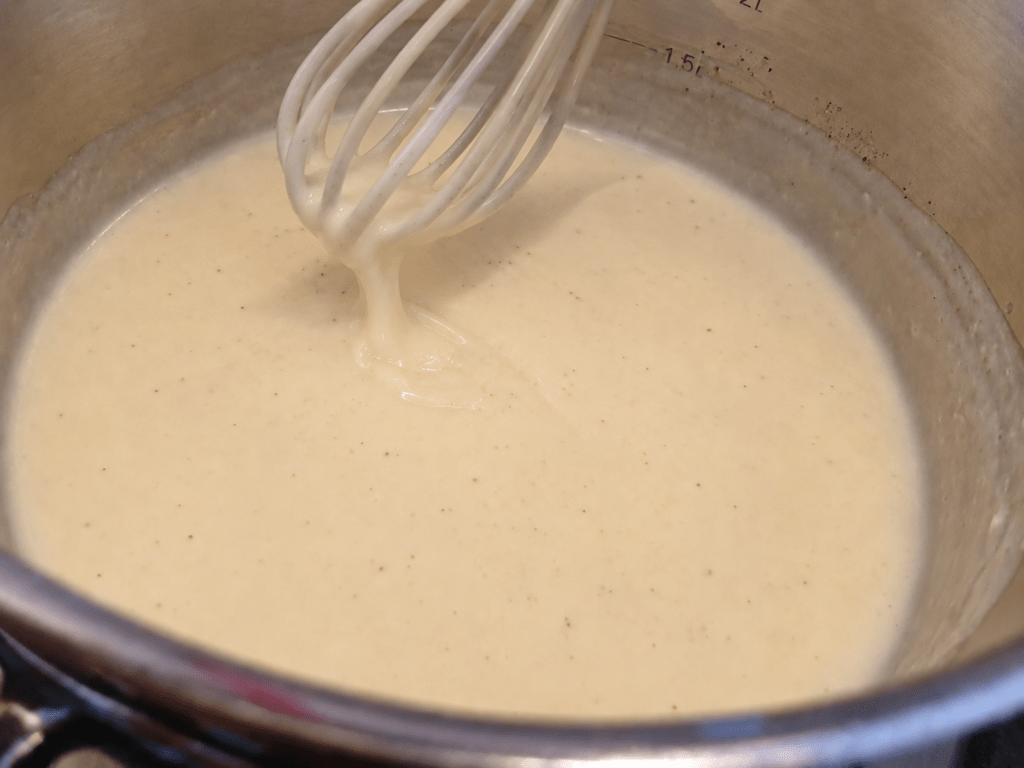
Add around 1 cup of milk and whisk vigorously until the roux and milk are completely combined and the sauce begins to thicken. Add a little more milk, whisk again, and continue gradually until you reach a smooth consistency similar to pourable yoghurt.
The key here is not to rush. Small additions of milk are much easier to incorporate and give you far more control over the final consistency.
Once you’re happy with the texture, turn off the heat and add: ½ teaspoon salt, pinch of sweet paprika, pinch of freshly grated nutmeg, and about ¼ teaspoon English mustard (depends on the sharpness of your mustard).
Whisk everything together until beautifully smooth. Add 3-4 extra tablespoons of milk and whisk till smooth. This extra milk will thin the sauce just enough to be able to absorb the cheese without getting too thick. If you’re not adding cheese to your sauce, this step is redundant.
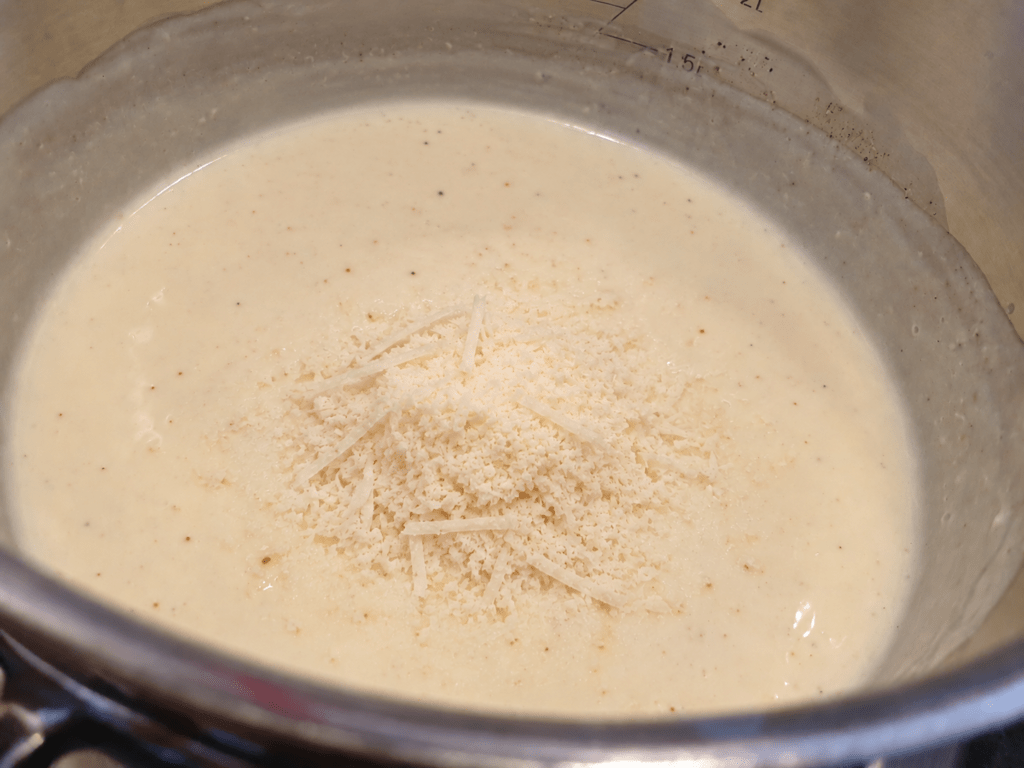
Finally, add ⅓ cup finely grated Parmesan, swap back to your wooden spoon and stir until the cheese has completely melted into the sauce.
You should now have a silky, creamy white sauce that is thick enough to coat a spoon but still loose enough to spread easily between the layers of your lasagna.
A few pointers for a silky-smooth sauce
The milk
You’ll often see recipes recommending that you warm the milk before adding it to the roux. I’ll admit, I’ve never found it necessary.
I use room-temperature milk, and it works perfectly well. The trick, for me, is keeping the heat low, adding the milk gradually and whisking thoroughly after each addition.
If you do spot a few lumps forming, don’t panic – just remove from hit and keep whisking until the sauce becomes smooth before adding any more milk. Once you get into the rhythm of pour, whisk, thicken, repeat, it comes together surprisingly quickly.
Wooden spoon or whisk? Both.
This is one of those little details that makes the process much easier.
Start with a wooden spoon while cooking the butter and flour. As soon as the milk goes in, switch to a hand whisk to keep the sauce silky and lump-free. Use the whisk while incorporating the milk and seasonings, then switch back to your wooden spoon once it’s time for the cheese.
Have both sitting beside the hob before you begin – the transitions happen quickly, and white sauce isn’t particularly fond of being left unattended while you rummage through a kitchen drawer.
Season it your way
The classic foundation for white sauce is simple: salt, pepper and nutmeg. Nutmeg, in particular, gives it that warm, familiar flavour that works so beautifully with creamy sauces.
But, as with every other layer of this lasagna, I like to take things a little further.
I add English mustard to cut through some of the richness and a pinch of sweet paprika for an extra layer of warmth. Neither should dominate the sauce; they’re there in the background, quietly balancing all that creaminess.
Garlic powder and onion powder are also excellent additions if you want to push the sauce in a more savoury direction.
Once again, think of these as suggestions rather than rules. Taste as you go and make the sauce work for your lasagna.
And then there’s the cheese…
Adding cheese to the white sauce is entirely optional, but it’s a very good optional extra.
It brings another layer of flavour and richness while also meaning you don’t necessarily need to add as much cheese to the final product.
Parmesan is my usual choice. It melts beautifully into the sauce without overwhelming it, adding and extra layer of salty, savoury flavours.
Mild cheddar is also a solid choice, adding cheesy flavour and thickness to the sauce. Though, I tend to steer clear of stronger Cheddar, simply because I find it can make the sauce a little too rich and heavy – but to each their own.
One thing to remember: cheese will thicken your white sauce.
Remember to I loosen it with those extra few tablespoons of milk before adding the seasonings and cheese.
And with that, all our individual components are ready.
Step 5 – Building the Lasagna
And now for the easiest, and arguably most satisfying part: putting it all together.
The basic formula couldn’t be simpler:
Pasta → Bolognese → white sauce → repeat.
Finish the dish with generous layer of cheese before sending it into the oven.
Simple enough. But, as you’ve probably gathered by now, there’s still plenty of room to make it your own.
First, a little sauce
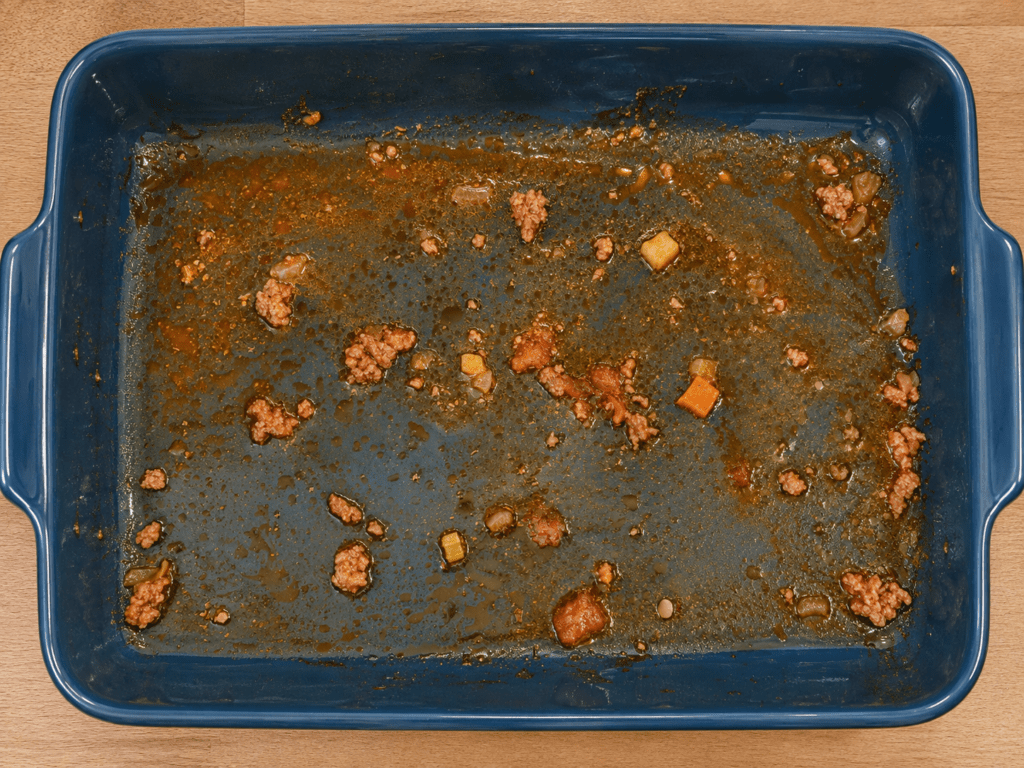
Before adding the first sheet of pasta, spread a thin layer of the Bolognese juices across the bottom of your baking dish.
You don’t need much, just enough to create a little moisture between the pasta and the base of the dish. This prevents the bottom layer from sitting directly against a dry pan and gives it something to absorb as it cooks.
The pasta
You can use fresh or dried lasagna sheets, and both work perfectly well.
Fresh pasta is softer, easier to handle and generally requires less cooking time. The downside is that, once bought, it needs to be used fairly quickly. Dried pasta is wonderfully convenient to keep in the cupboard and is what I tend to build around when making a lasagna like this.
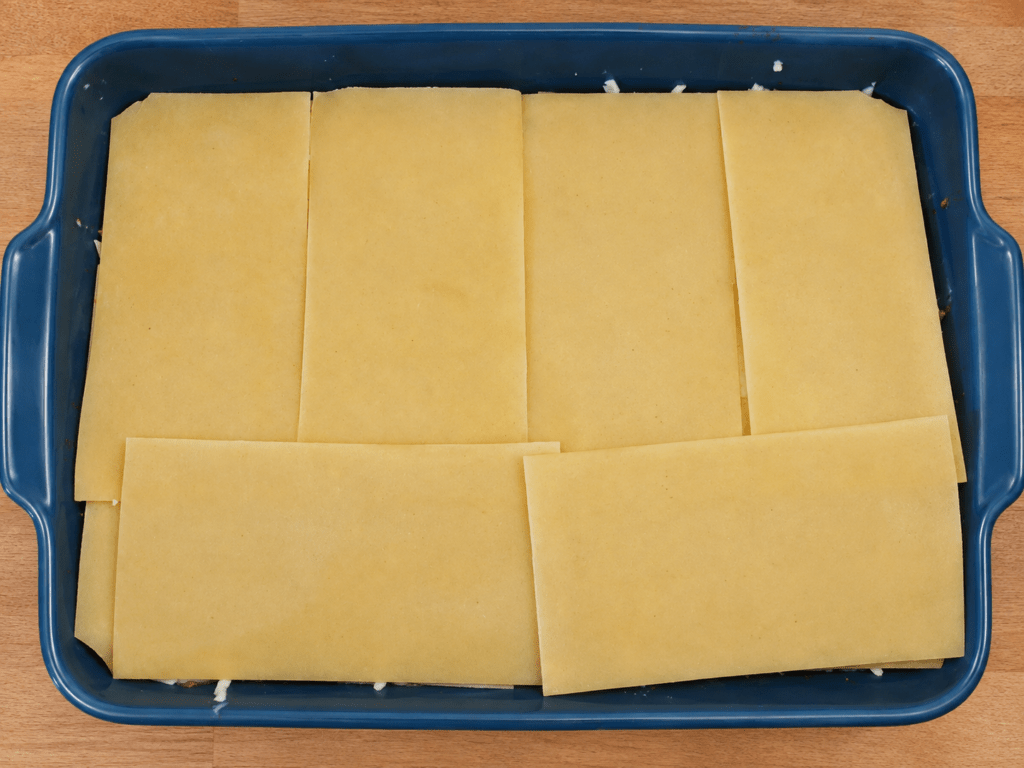
Whichever you choose, I prefer to arrange the pasta sheets in one even layer, with as little overlapping as possible.
Doubling up can create a thicker, more substantial pasta layer if that’s what you enjoy, but dried sheets pressed together may take longer to soften and can sometimes stick to one another. If you do want a double layer, make sure there is plenty of sauce and moisture available for the pasta to absorb, or use fresh pasta, which is much more forgiving.
If you’re using dried pasta, soak the sheets in boiling water for a few minutes before you start assembling the lasagna. There’s no need to cook them through—the idea is simply to soften them enough to make them more flexible and easier to trim or break to fit your baking dish.
The Bolognese
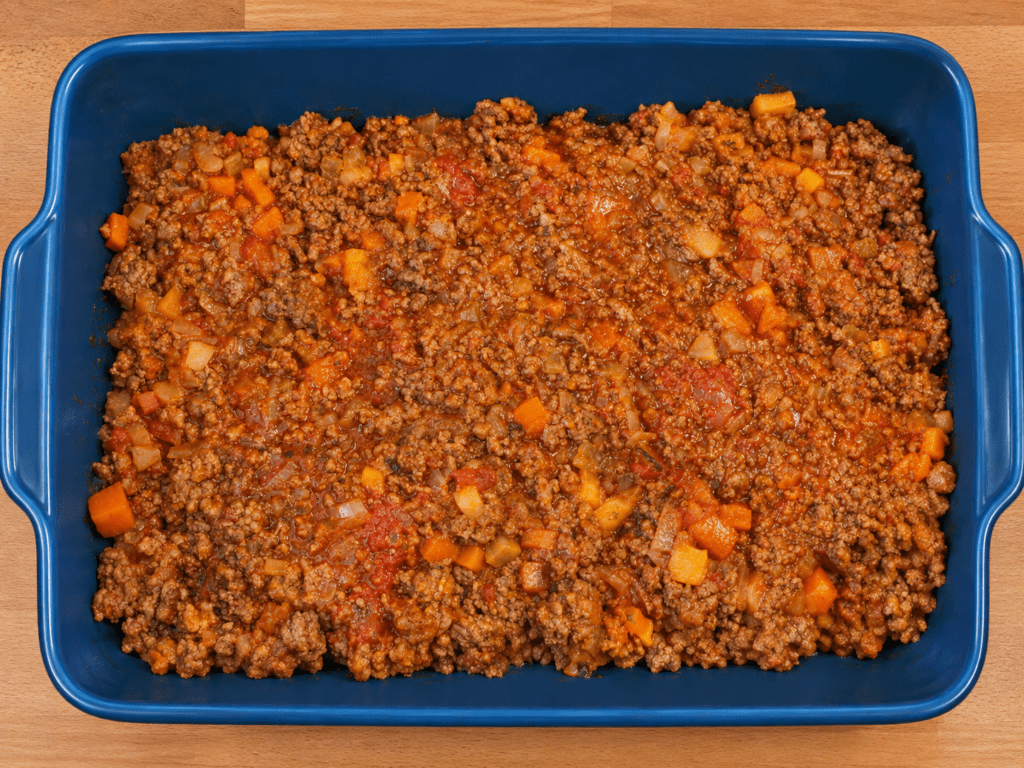
Spread it evenly across the pasta, making sure the sheets are completely covered with sauce. This is particularly important when using dried pasta, as the moisture from the sauce is what will help the sheets properly cook in the oven.
This is also where all that effort spent breaking up the mince earlier pays off. A finely textured Bolognese spreads much more easily, giving you an even layer rather than large pieces of meat dotted throughout the dish.
How thick should that layer be? That’s entirely up to you.
It will depend on the size of your baking dish, how much filling you’ve made and, most importantly, what you like your lasagna to be: lots of thin layers or fewer, gloriously generous ones.
The white sauce
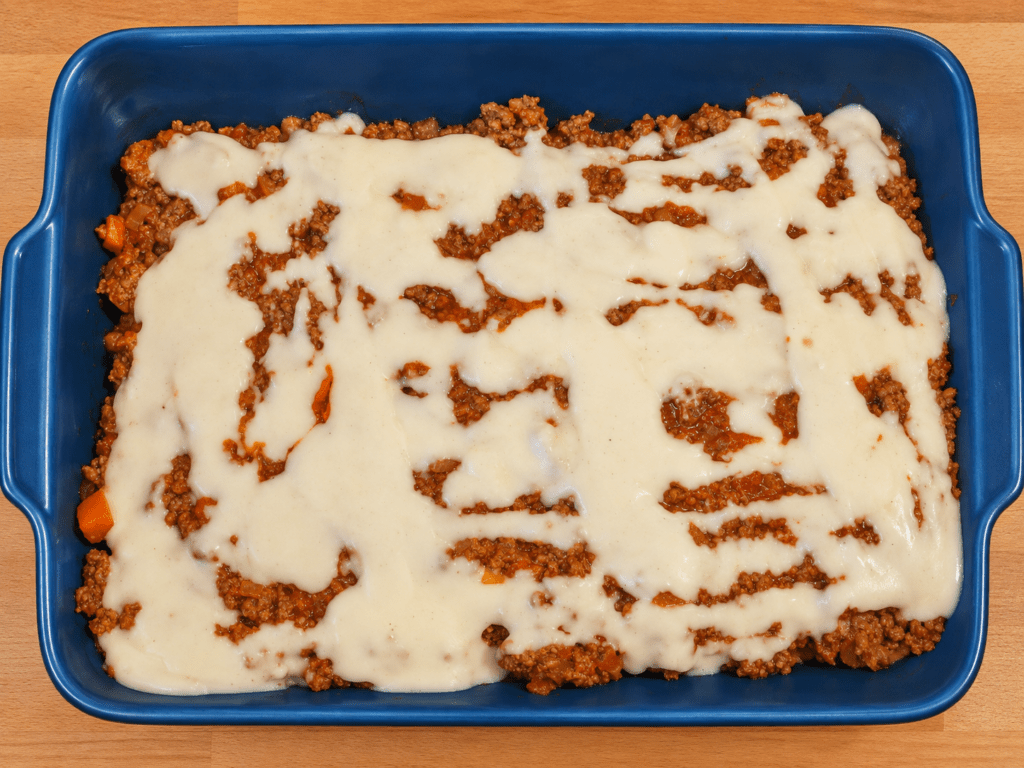
You can drizzle it loosely across the Bolognese or spread it into a complete layer. I prefer to gently smooth it across the surface with the back of a spoon, creating an even blanket of creamy sauce from edge to edge.
Then it’s simply a matter of repeating until you reach the top of your dish.
Cheese between the layers – or not?
If you’re firmly in the there’s no such thing as too much cheese camp, you can sprinkle a little grated Cheddar or Parmesan over the white sauce before adding your next pasta layer.
Just remember that cheese brings not only extra flavour but extra richness, so I tend to use it carefully, particularly if the meat mixture is already on the fattier side.
Because our white sauce already contains Parmesan, I refrain from adding additional cheese between the layers. However, as with everything else in this guide, that decision is yours.
So, how many layers?
There really isn’t a magic number.
The final number of layers will depend on the size and depth of your baking dish, how generously you portion the Bolognese and white sauce, and whether you use single or double layers of pasta.
I used a fairly large baking dish and single layers of pasta, which gave me two substantial layers in the finished lasagna – and that worked beautifully for me.
Don’t chase a particular number. Build your layers according to the dish in front of you and the kind of lasagna you want to eat.
The grand finale: More cheese
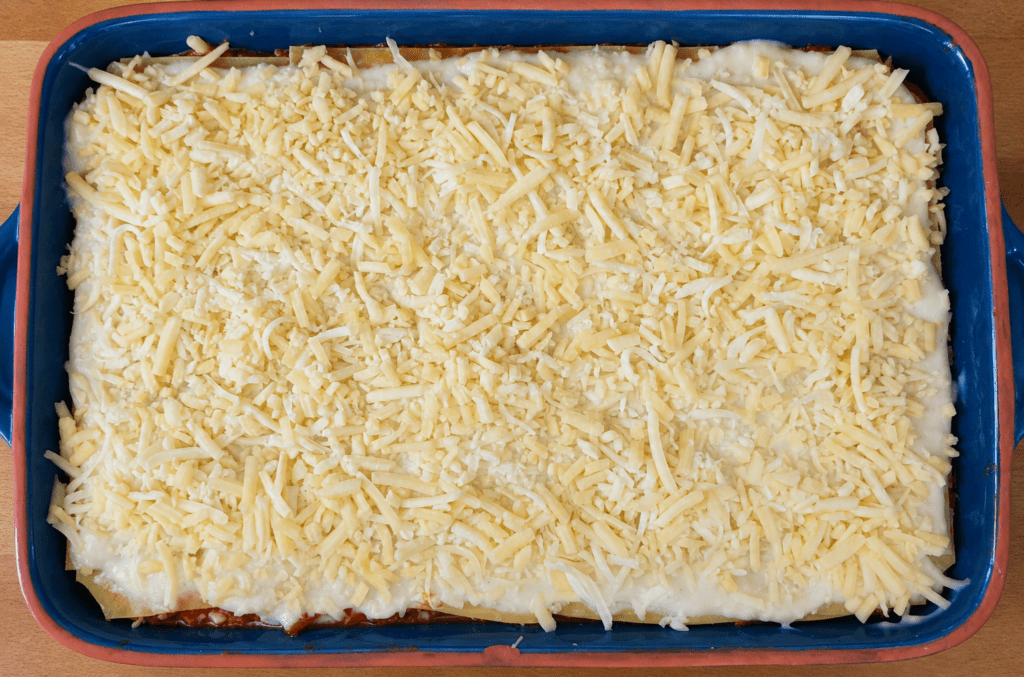
For the final layer, finish with Bolognese followed by white sauce, then cover the whole thing with grated cheese.
This is the layer that will bubble, melt and turn beautifully golden in the oven, creating that irresistible cheesy crust on top.
I like to use a combination of freshly shredded low-moisture mozzarella, giving the dish that wonderful stretchy cheese pull, and manually grated Cheddar, that brings a deeper, fuller cheesy flavour.
I highly recommend grating your cheese fresh rather than buying it pre-grated. Pre-grated cheeses often contain anti-caking agents to stop the strands from clumping together in the packet, which can also prevent them from melting quite as smoothly.
For the mozzarella, I prefer to buy a block and shred it directly over the lasagna, giving you those lovely strands that melt into a soft, stretchy topping. I do the same with the Cheddar, but grate it more finely rather than shredding it, so it melts easily into and around the mozzarella.
Whether you choose mild or mature Cheddar is entirely down to taste. If you want a stronger cheese flavour, this is a good place to bring it in.
Lastly – Bake the Lasagna
Preheat your oven to 180°C fan.
Lasagna has a habit of bubbling enthusiastically around the edges, so place the baking dish on a larger tray lined with foil before putting it into the oven. It makes any overflow considerably easier to deal with and saves you from having to scrub baked-on Bolognese from the bottom of your oven later.
Cover the lasagna loosely with foil, making sure it doesn’t touch the cheese, or it may stick as everything melts. You can tent the foil slightly, use a couple of skewers to keep it raised, or lightly oil the underside as an extra precaution.
Place the lasagna on a lower rack in the oven and bake, covered, for 25 minutes.
Then remove the foil and return it to the oven for another 10–12 minutes, allowing the top to bubble and turn beautifully golden.
You’re looking for melted cheese, gently crisp edges and a sauce that is bubbling away around the sides – the sort of lasagna that makes you want to reach for a spoon before it has even made it to the table.
Once baked, resist that temptation for just a little longer and let the lasagna rest before slicing. This gives the bubbling sauces time to settle and the layers a chance to firm up, making it much easier to cut and serve without everything immediately falling apart.